How To Make an Electronic Profile for Students Using Google Sites

Technology is allowing students to express themselves in ways never imagined. One way to get students to think about the learning process is to have them create portfolios, which not only lets them exhibit their understanding of deep content for others to see, but also encourages them to reflect on their own progress and growth over time.
Digital portfolios are gaining ground. They can be edited continuously, they follow students from grade to grade, and they are easier than ever to create and maintain. Google Sites can get students started with building electronic portfolios. It’s free to anyone with a Google account, and the built-in tools make it easy for students to use content directly from their Google Drive with just a click of a button.
Here’s how to get started with a Google Domain account and site templates:
SIGN UP: Get more news from the EdTech newsletter in your inbox every two weeks!
 Create a Google Site.
Visit sites.google.com and click the “Create” button.

Name the site and click the “Create” button.
It’s best to use a name, such as “mrs.jones.grade5.website.” It has to be unique enough to not have been used by someone else, but simple enough for students to remember.

Add pages to the site.
Maybe students need categories, such as English and science, or maybe they are working on a project with set milestones. Either way, it’s important to be clear what the portfolio is for and why students are doing the work.

Publish the portfolio template.
Click on the gearshift icon in the upper right and choose “Manage Site” from the list. Scroll down to see a section with a button that says, “Publish this site as a template.”
Click the button and name the template. This is the name students will see when they search for the template. Make it personal to the class. Hit the red “Submit” button.

Guide students to the Google Site.
Have students visit sites.google.com and click the “Create” button. On the next screen, guide them to the link “Browse the gallery for more.”
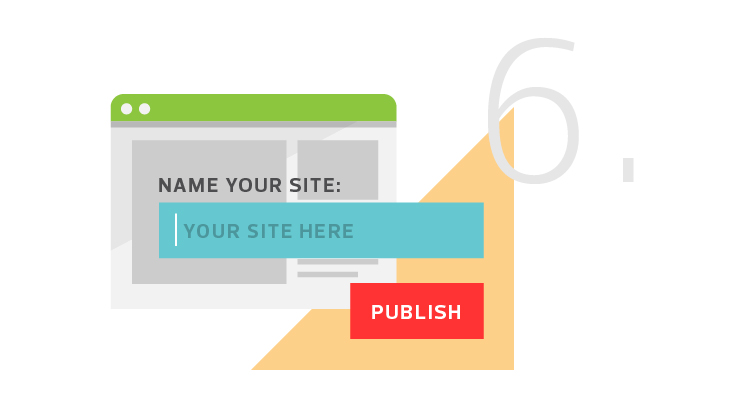
Prepare to publish.
Find the class template from the list that comes up and ask students to select it. The students also will need to name their websites. Try to come up with a naming convention common to all students that makes sense to everyone.
The students now have their own portfolio website built on the template. They can share it with their teachers and add permissions for other students to collaborate with them. Encourage them to personalize their sites by changing the themes, colors and fonts.